I’ll write up a full guide once I have recovered, but basically you need to be able to remove the shutter from the projector completely.
16mm projectors I have successfully modified include Bauer and Sankyo models. Super8, the ST1200HD, and the Bauer Super projectors. 35mm Simplex, I haven’t had a 9.5mm to mod.
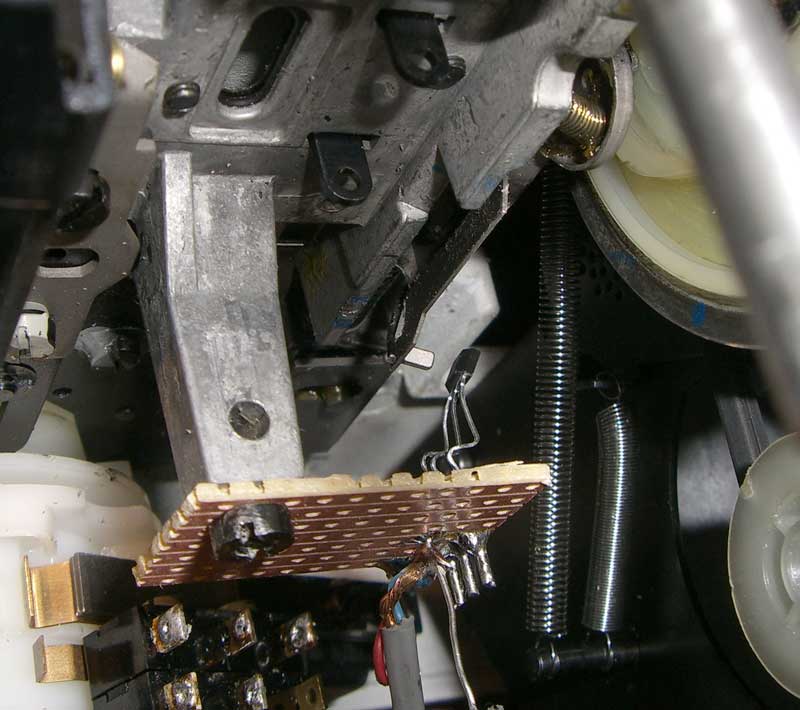
After removing the shutter, you need to be able to attach a small (2-3mm) magnet to either the drive-shaft, or the frame advance knob of the projector, so that each rotation equals one frame advanced in the projector. This acts to trigger the camera to take an image, and the light-source to flash.
The software included with the LED controller takes care of operating the triggers, and capturing the image, as well as setting the exposure, white balance etc.
The camera/sensor is USB3, so it plugs into the computer, the LED board is USB2, and plugs into th computer as well.
The trigger mechanism consists of the magnet, and the hall effect sensor, mounted on a piece of veroboard or similar.

The hall effect sensor plugs into the LED board, and the camera has a trigger input, which also plugs into the LED board.
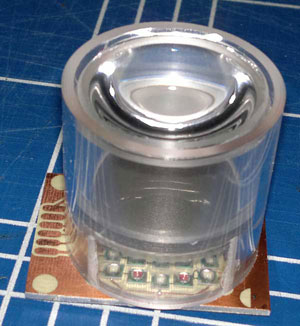
The RGB LED light source is approximately the size of a 16mm projector halogen light, you remove the projector light-bulb and replace it with the LED light.

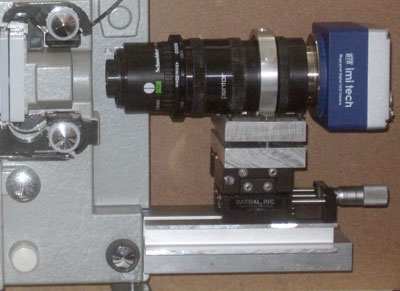
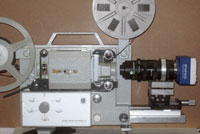
The camera is mounted either on a macro-focusing rail, or a micrometer adjustable stage. The lens is attached (reversed) to the front of the camera, via and pointed at the film gate of the projector.


It then becomes a matter of focusing the camera by adjusting the focus-rail/stage, so that the film image fills the camera sensor as best as possible, you can see the picture on your PC and frame and focus accordingly.
You then set the exposure and RGB mix accordingly to get the best result, set your file format etc. and start the capture.