Anyone interested in getting the color correction GUI can send me a PM. I will then send you a link to the necessary files.
When you've downloaded the file named ColorCorrect_pkg.exe, execute the file. You will be asked to install the MATLAB runtime environment. After you have finished installing, a new executable named ColorCorrect.exe will be available. Open this file as administrator, else it will not work.
A few words of advice on using the GUI. The GUI itself is pretty self explanatory.
The process is as follows:
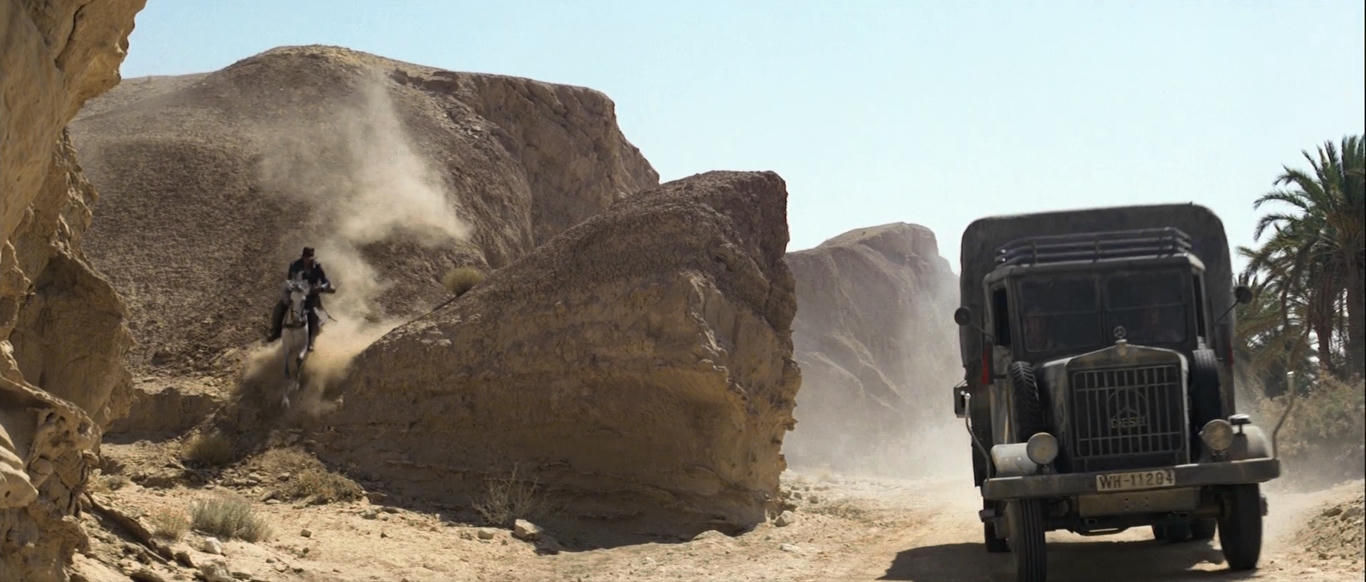
1) Select a test image. A figure will open, showing the image. You will be able to crop the frame, with your cursor.
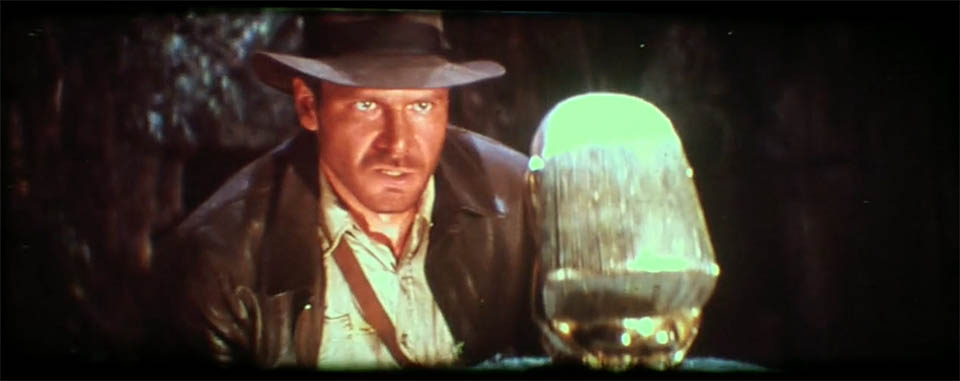
2) Select a reference image. A figure will open, showing the image. You will be able to crop the frame, with your cursor.
3) Build a color correction model. Depending on the resolution/size of the images after cropping and your hardware, this may take 0-15 minutes (15 min for a 4K image) on an Intel Core i5. A figure will open showing you the test frame as it is being matched. With each iteration it should be closer to the reference.
4) Save the color correction model for later (optional).
5) Import a color correction model (optional).
6) Import any number of images, and color correct them with a color correction model you just built or imported. The images will be saved in a newly created directory named "Corrected" with the same name as the original images. Color correcting a frame may take anywhere between 5 and 20 seconds, depending on the resolution/size of the frame, and of course your hardware.
When building a color correction model you should consider the following:
1) The model assumes the test and reference images (frames) are identical, aside from the color. In other words it's important the images are cropped in the same way (to a reasonable degree). Incorrect cropping may lead to artifacts.
2) When using a print or a low quality source as a reference, there may be color variations within the frame. For example some parts may be darker or brighter than others. If you use the full frame for building a color correction model, it will try and fail to reconcile these differences, resulting in artifacts. The best way to go, is to select a consistent part of the frame, select the same part for the reference, and then build the color correction model.
3) Although it is in theory you could regrade an entire film, based on a single reference frame, this will probably not work in practice, because one reel may have degraded in a different way than another or one scene may have been color graded differently from another. In principle it is possible that each frame will have to be matched individually, but usually a film is graded on a scene by scene basis, so a single reference will suffice for a particular scene.
Hope you enjoy the tool. Of course if you use the tool for your projects, any acknowledgements will be appreciated. The same is true for any comments, critisism or suggestions you may have. In that case send me a PM.