I just want to thank You_Too for pointing out that the source I had been working from was not correct. I thought that it would be easy to simply apply the settings from my previous work to the correct source (a demuxed video stream of the DVD), but the difference in brightness screwed everything up.
Sigh.
I started over, discarding my previous work. I ended up using two copies of the video file, layered on top of each other, in an attempt to correct the underexposed source. The settings for the top layer of video, set to "screen" in the opacity menu, are:
Image Control: Contrast: 30
Color: Saturation: -100
The lower video is:
Image Control: Contrast 85, Saturation 85.
Gamma 11
Lighting: Brightness 50, Contrast 30, Exposure 80.
Channel Mixer (top to bottom): 78, 23,-6, 1, 5, 82, 5, 1, -12, 8, 90, 0.
The results are almost identical to the previous attempt, but with a very slight increase in overall brightness and slightly less muddy colors. All hundred or so images are here, password starwars as usual:
Some observations that I had during this project:
It seems like some of the color has been pulled down out of the image, especially in the red and green range. I say this because when upping the red and green constants in the channel mixer, the Death Star interior suddenly looks correct. The walls, which have little color in them to start with, are definitely more blue than normal in the DVD. Adding this red and green "fills in" this color, making them much more even and natural looking, especially in the shadows. I didn't want to add too much color here, but the difference is noticeable:
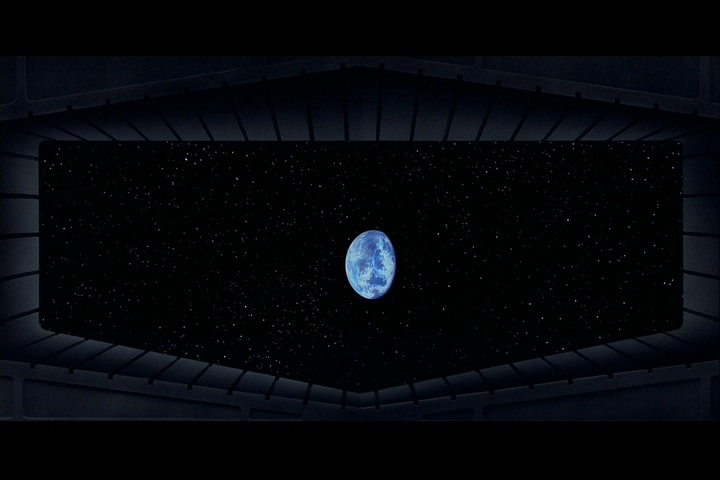
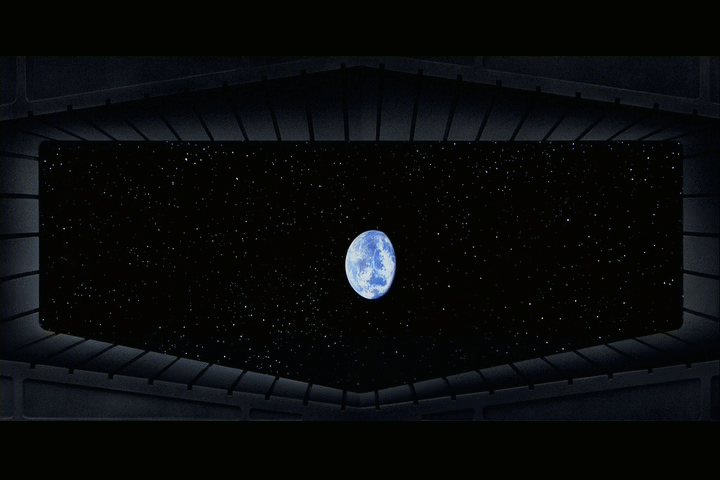
The starfield is also noticeably brightened.
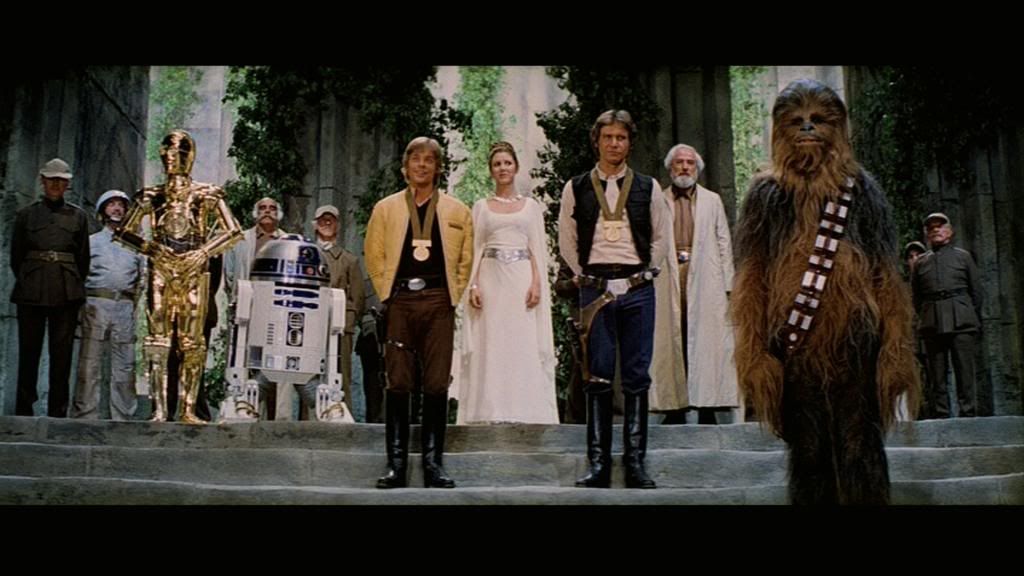
The reds were blown out in the DVD, so dialing them back and increasing the brightness did wonders:
The Binary Sunset looks much better, the red lights throughout the movie are accurate, and the pink flashes are much less noticeable, mostly because of the somewhat repaired highlights.
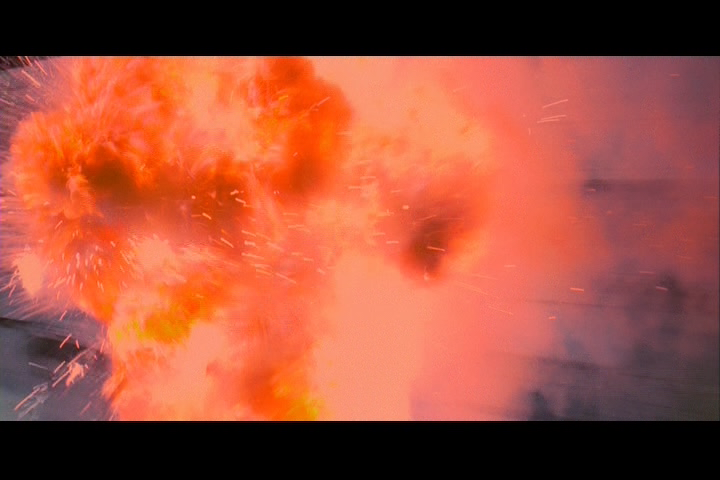
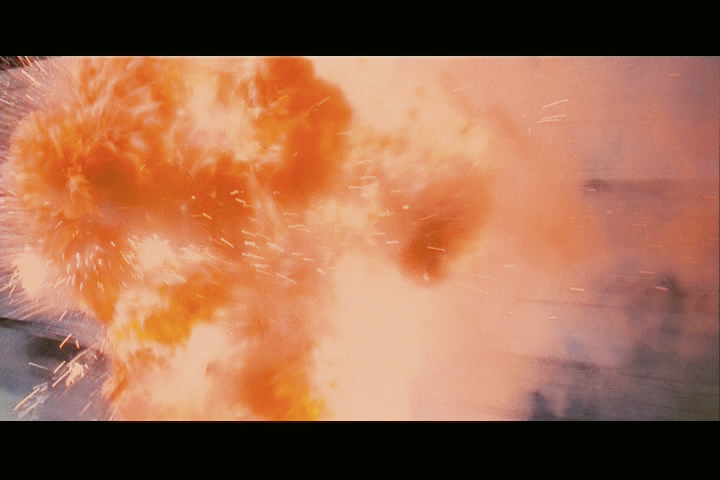
The downside to these settings is the burning homestead scene, which was actually too bright in the DVD. I settled for not technically clipping anything in that scene, although it definitely looked better before. This is where the limitations of the source become apparent. In the above explosion, the GOUT shows some highlights that simply do not exist in the DVD. Most other issues can be solved by a scene by scene correction, but crushing the lowest and highest parts of the image simply cannot be corrected entirely. However, there is still some wonderful detail hiding in there, and I hope that these settings are at least taken into consideration by other correctors out there (now that the source is correct, that is)!