UPDATE 2 - 03/04/22
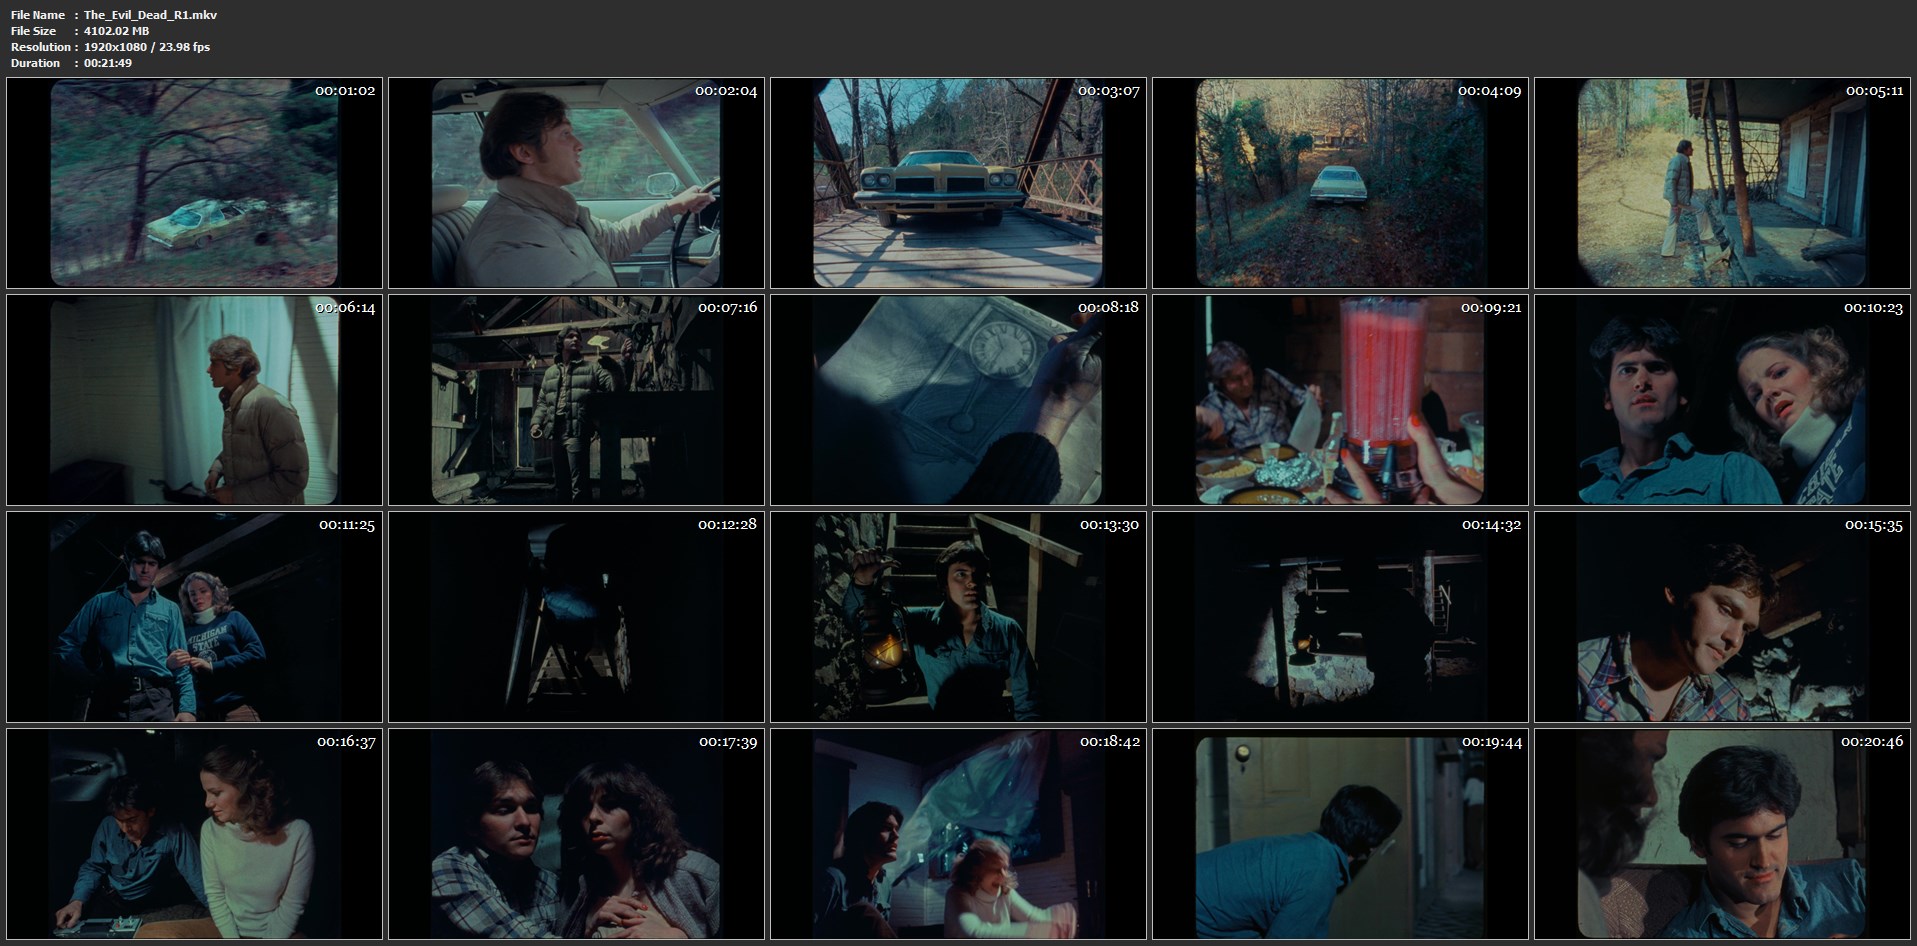
Here is a preview of the first 22min reel;

A little bit more on the project, it was scanned in 5K in Raw CinemaDNG format by a US scanner on his Scanstation. The turnaround was only 11 days between him picking up the print from the collector, to my having the 4TB HDD in my hands here in the UK, really quick & highly recommended! He also very kindly ordered the HDD from Amazon.com for me, saving the postage time from the UK to the US.
To the transfer itself; having a RAW CinemaDNG scan, gives a lot more latitude to tweak the various colour & exposure settings, than a scan with ‘baked in’ exposure which might be over or under ideal levels. I was hoping to have one RAW setting for the whole film, but this either gives overexposed opening daylight scenes, or underexposed dark cellar sections, so I’m having to break it down into sections & shots and tweak it more than I thought.
One unexpected issue is processing time. Each 5K frame is 5120x3840px @ 300dpi (28.1mb), with each of the four reels around 31,000 frames a piece (that’s 123,709 frames @ 3.31TB total). I’m running an i7-7700k @ 4.2gHz CPU with 16GB ram & GTX 1060 6GB GPU, and even then it takes around 26 hours encoding time per reel! Rather than working on the 5K file, I’m using mid-way RAW exposure settings, cropping the video down to the final frame size so you can still see the edges, and encoding that to uncompressed AVI 1080p. Then I’m working though tweaking the levels, exposure and colours on that 1080p footage with Red Giant Colourista, which is much faster. Then I can either encode the final file from those AVIs, or apply the same filters to the 5K footage and encode from that. The colours/saturation on this print are very roughly the same as the 2010 Anchor Bay Blu-Ray, but I’m generally pushing the white balance more to the blue, and brightening some darker shots up so you can see more detail.
There was also a little light leakage from the sprocket holes on the right of the frame, so any darker shots which are brightened up, have a second copy overlaid, with masking of 90% of the left hand side of the frame, and a gradient of 10% off to the right, with darker blacks to compensate and make the whole picture look even.
Looking at this 35mm transfer’s optical audio and comparing it with the 1985 Japanese Herald Videogram Laserdisc true mono track, and the 2010 Blu-Ray stereo track converted to mono, it appears that the audio on the print is the original mono audio mix printed as dual mono, and has not been remixed or tampered with. Looking at the waveforms, there is very little difference between the laserdisc and 35mm audio, but there are fair differences with the Blu-ray audio. There aren’t really any replacements/alterations but certain sound effects and music start & endings have been blended/faded better in to the mix.
It will probably take a few more weeks to complete as I’m in the middle of another project I need to get finished first, but the project is 90% there. It’s rented, scanned and I have the transfer. It’s just a matter of working through the footage and encoding the final version.